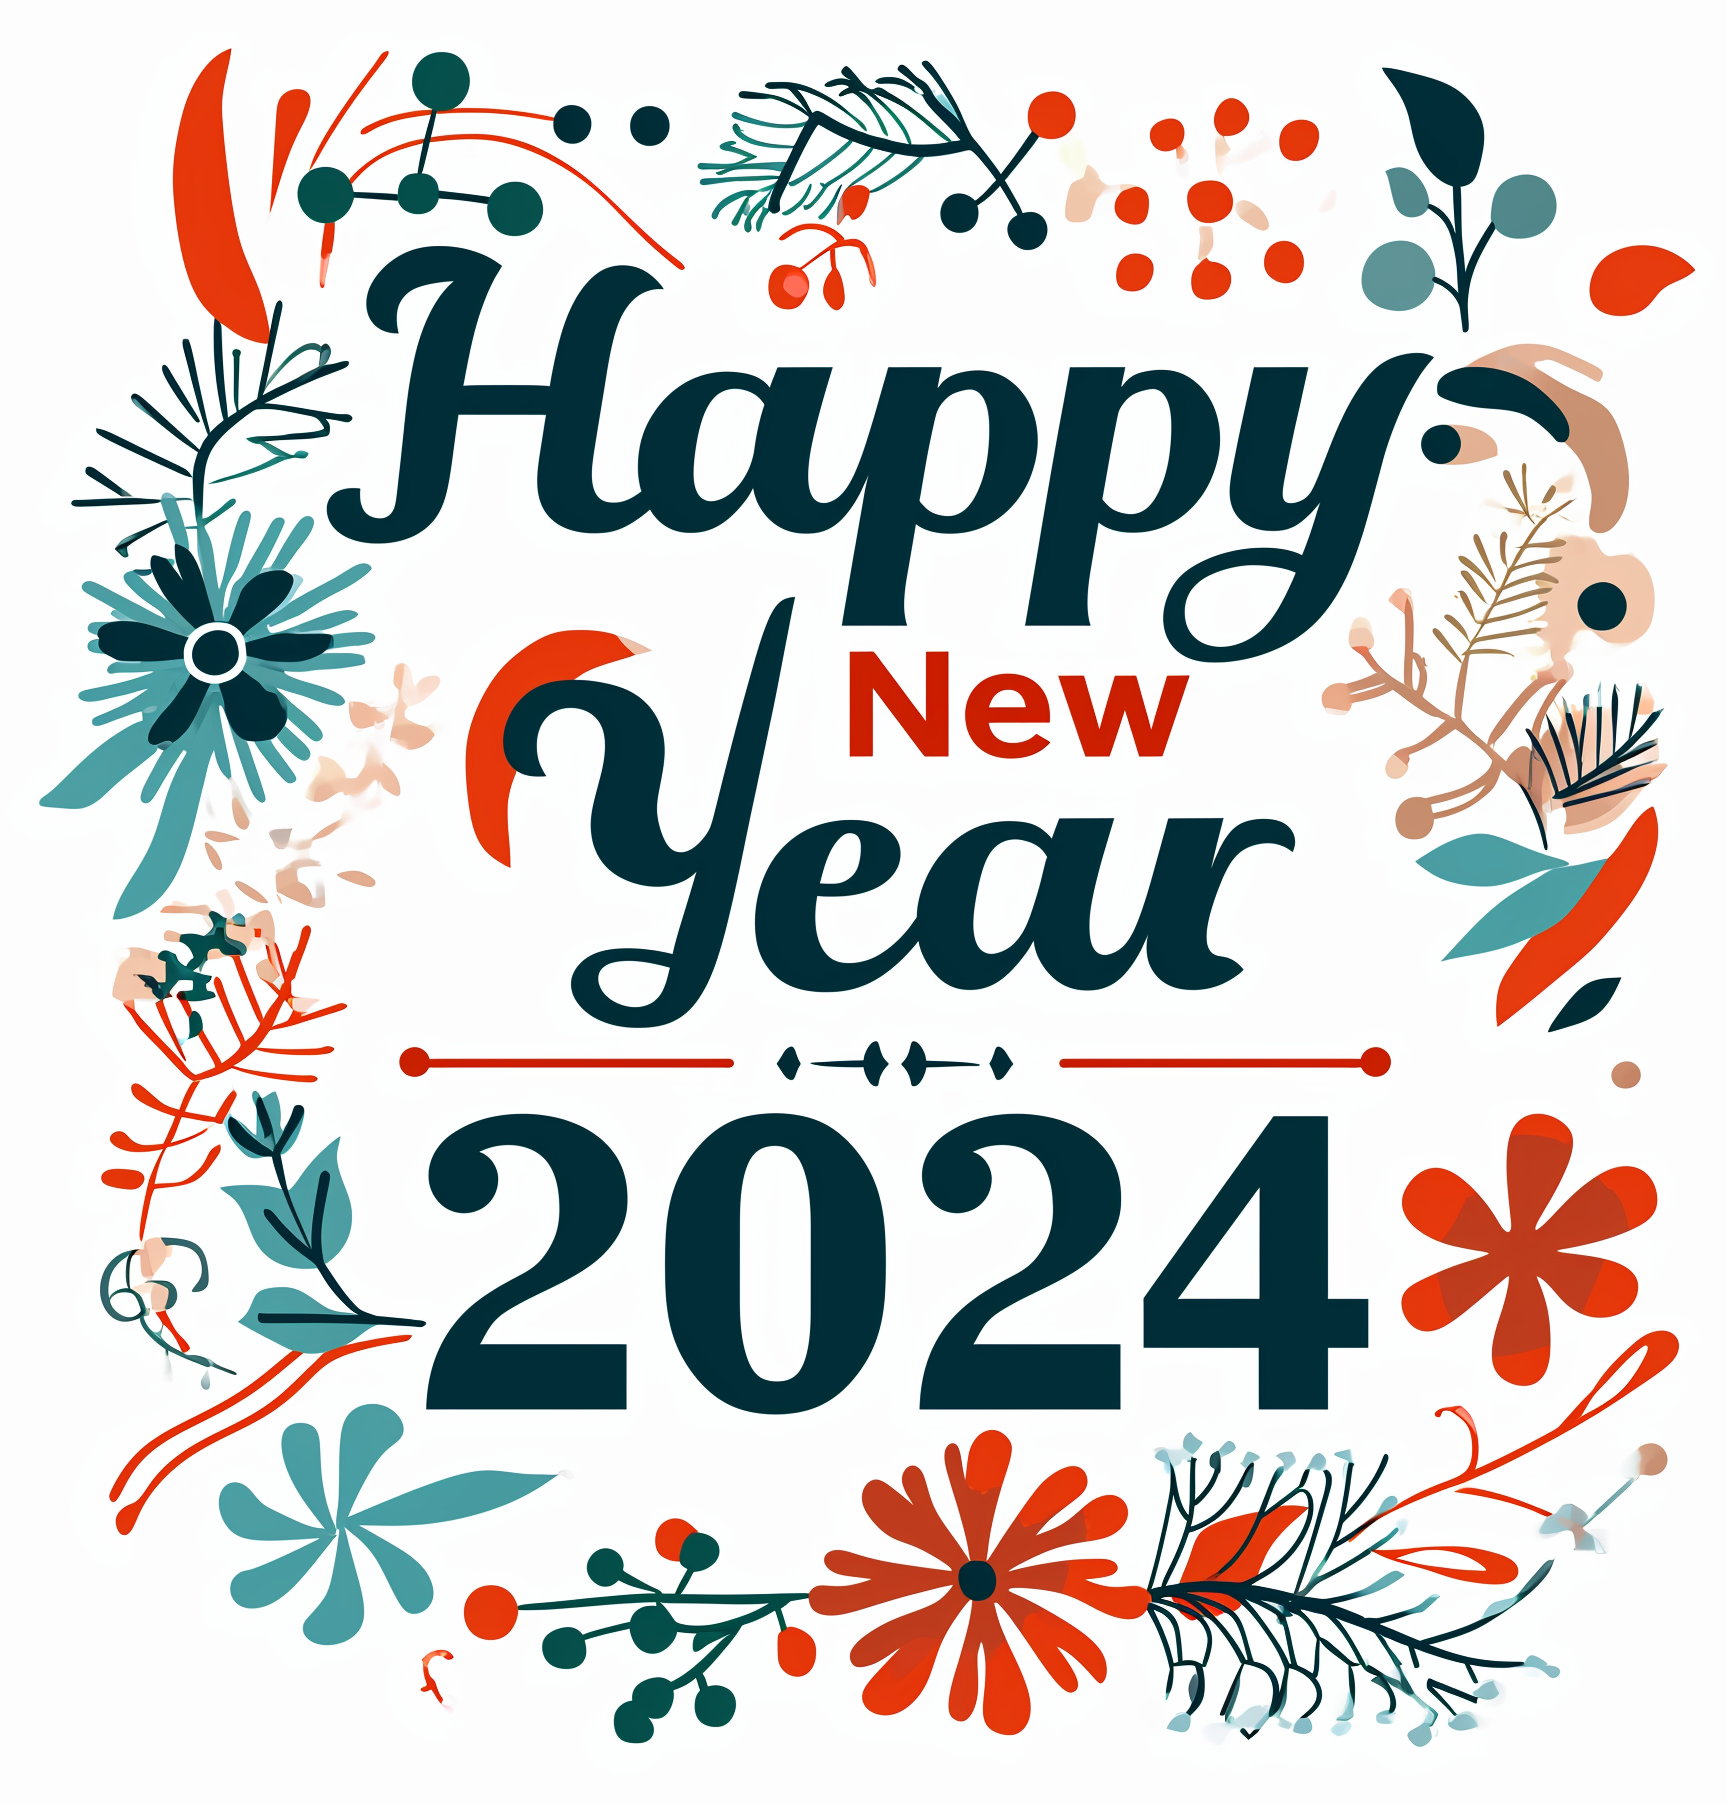
Hey there! Are you ready to kick off the new year with some creative and fun DIY crafts? Well, you’re in luck because in this article, I’ll be sharing some exciting ideas to help you celebrate New Year 2024 in style. Whether you’re looking to spruce up your home decor, create personalized gifts, or just enjoy some crafting time, I’ve got you covered.
From glittery party hats to festive banners, we’ll explore a wide range of crafts that will add a touch of sparkle and joy to your New Year’s celebrations. Get ready to unleash your creativity and make this New Year’s Eve one to remember.
So, grab your crafting supplies and let’s dive into the world of New Year 2024 DIY crafts! Get ready to have some fun and create memorable decorations and gifts that will make your celebration truly special.
Contents
- 1 1. DIY Glittery Party Hats
- 2 2. Handmade New Year’s Eve Banners
- 3 3. Personalized Photo Calendars for 2024
- 4 4. Festive Party Popper Crafts
- 5 5. Creative Resolutions Journals
- 6 Conclusion
- 6.1 How do I create glittery party hats for New Year’s celebrations?
- 6.2 What other DIY crafts can I make for New Year’s Eve?
- 6.3 How can I create personalized photo calendars for the upcoming year?
- 6.4 How can I incorporate party poppers into New Year’s Eve crafts?
- 6.5 What is a Creative Resolutions Journal and how can I create one?
1. DIY Glittery Party Hats
Who doesn’t love a fun and festive party hat? It’s a staple for any New Year’s celebration. Instead of buying generic party hats from the store, why not add a personal touch and make your own DIY glittery party hats?
Creating your own glittery party hats is not only fun, but it allows you to customize them to match your party theme or personal style. Plus, it’s a great way to get everyone involved in the crafting process. Here’s how you can make your very own glittery party hats:
- Gather your supplies: Start by gathering all the necessary supplies. You’ll need plain party hats, glitter, glue, scissors, and any other decorative items you’d like to add, such as sequins or feathers.
- Prepare the hats: Take a plain party hat and remove any existing decorations or designs. This will give you a blank canvas to work with. If you can’t find plain party hats, you can easily create your own by cutting out the desired hat shape from colored cardstock.
- Apply the glue: Using a brush or sponge applicator, apply a thin layer of glue to the surface of the party hat. You can cover the entire hat or create specific patterns or designs with the glue.
- Sprinkle on the glitter: Once the glue is applied, immediately sprinkle glitter all over the hat. Make sure to cover it completely for maximum sparkle! You can use one color of glitter or mix different colors for a more vibrant look.
- Add extra embellishments: If you’d like to add additional decorations, now is the time to do so. You can glue on sequins, feathers, or any other festive items that you have on hand. Get creative and make each hat unique!
- Let it dry: Allow the party hats to dry completely before wearing or displaying them. This will ensure that the glitter and decorations stay in place.
2. Handmade New Year’s Eve Banners
One of my favorite DIY crafts for New Year’s Eve is creating handmade banners to add a festive touch to the celebration. Not only are they fun and easy to make, but they also provide a great opportunity to personalize your party decorations. Let me share with you a step-by-step guide on how to create your own handmade New Year’s Eve banners.
Supplies you will need:
- Colored paper or cardstock
- Scissors
- Hole punch
- Ribbon or twine
- Glue or adhesive tape
- Decorative items like glitter, sequins, or stickers (optional)
Step 1: Choose your design
Start by choosing the design for your banner. You can go for a classic “Happy New Year!” message or get creative with personalized messages or symbols. If you’re feeling artistic, you can even draw or paint your own designs on the paper.
Step 2: Cut out the shapes
Using scissors, carefully cut out the shapes for each letter or symbol of your banner. You can choose to make large block letters or experiment with different font styles and sizes. Don’t forget to cut out any additional decorative shapes or symbols you want to include.
Step 3: Punch holes
Once your letters are ready, use a hole punch to create holes on the top corners of each shape. These holes will allow you to attach the shapes to the ribbon or twine later on.
Step 4: Arrange the shapes on the ribbon
Take a long piece of ribbon or twine and lay it flat on a table or the floor. Arrange the shapes in the desired order by threading the ribbon through the holes you punched earlier. Make sure to leave enough space between each shape for the banner to hang properly.
Step 5: Secure the shapes
To secure the shapes in place, you can use small pieces of adhesive tape or glue. Alternatively, you can tie small knots at the back of each shape to prevent them from sliding along the ribbon.
Step 6: Add extra decorations
If you want to add some extra sparkle and flair to your banner, now is the time to do it. Use glitter, sequins, or stickers to embellish the shapes further. Be creative and make each shape unique.
3. Personalized Photo Calendars for 2024
Creating personalized photo calendars for the upcoming year is a great way to cherish special moments and stay organized. These custom calendars not only serve as functional tools, but also make for heartfelt gifts for family and friends. With just a few simple steps, you can design your own unique calendar for 2024.
First, gather your materials. You will need:
- 12 of your favorite photos, representing each month of the year
- Cardstock or photo paper
- Scissors or a paper cutter
- Glue or adhesive tape
- Markers or pens
- Optional: decorative stickers, ribbons, or other embellishments
Next, select the photos you want to feature in your calendar. Consider using memorable snapshots from vacations, birthdays, or other special occasions. You can even mix in inspirational quotes or adorable pet pictures to add a personal touch.
Print out the chosen photos on cardstock or high-quality photo paper. Make sure to adjust the size of the photos to fit your calendar layout. Trim the edges of the photos if necessary.
It’s time to create the calendar layout. You can either design the layout on your computer using graphic design software, or create a more hands-on approach by using markers and pens directly on the paper. Divide each page into squares representing the days of the month, leaving enough space to write notes or reminders.
Once your layout is ready, it’s time to assemble your calendar. Attach each photo to its respective month using glue or adhesive tape. You can also add decorative stickers, ribbons, or other embellishments to make it even more visually appealing.
Lastly, write in the important dates and events on your personalized calendar, such as birthdays, anniversaries, or holidays. This will help you stay organized and never miss an important occasion.
Remember, be creative and have fun with your personalized photo calendar. It’s a reflection of your own unique style and memories.
4. Festive Party Popper Crafts
When it comes to ringing in the new year, party poppers are a must-have! These colorful and fun accessories not only add excitement to the festivities, but they can also be used as a creative element in DIY crafts. In this section, I’ll share some unique ideas for incorporating party poppers into your New Year’s Eve crafts.
1. Party Popper Confetti Poppers
One of the simplest ways to use party poppers in a craft project is to repurpose them into confetti poppers. Here’s how you can do it:
- Gather several party poppers and remove the outer decorative wrap.
- Carefully unscrew the bottom of each popper to expose the confetti.
- Empty the confetti into a bowl or container.
- Now, take some clear plastic tubes or small bottles and fill them with the confetti.
- Secure the top of each tube or bottle with some colorful ribbon or washi tape.
- Your confetti poppers are ready! Simply twist or pull the ribbon/tape to release the confetti.
2. Party Popper Streamer Backdrop
Create a stunning backdrop for your New Year’s Eve party using the colorful streamers found inside party poppers. Follow these steps to make a party popper streamer backdrop:
- Collect a bunch of party poppers and remove the outer cover.
- Carefully unravel the streamers found inside each popper.
- Attach one end of the streamers to a long piece of string or ribbon.
- Hang the string/ribbon across a wall or doorway, securing it with tape or hooks.
- Let the streamers cascade down, creating a vibrant and festive backdrop.
3. Party Popper Confetti Art
You can also use the vibrant confetti from party poppers to create unique and eye-catching artwork. Here’s a simple technique to try:
- Lay a blank canvas or sturdy cardstock on a flat surface.
- Take some party poppers and carefully open them over the canvas, allowing the confetti to fall onto it.
- Experiment with different colors and patterns to create a visually appealing design.
- Once you’re happy with the arrangement, use a clear-drying glue or spray adhesive to secure the confetti in place.
- Let it dry completely before displaying your party popper confetti art.
5. Creative Resolutions Journals
As we step into the excitement and possibilities of the new year, it’s the perfect time to reflect on our goals and aspirations. One way to keep our resolutions on track and stay motivated throughout the year is by creating our very own Creative Resolutions Journals.
Why should you create a resolutions journal?
- It allows you to visually organize your goals and aspirations, making them more tangible and achievable.
- Writing down your resolutions helps you clarify your thoughts and intentions.
- By regularly revisiting your journal, you can track your progress and stay accountable.
How to create your own resolutions journal:
- Choose a notebook: Find a notebook or journal that inspires you and reflects your personal style. Whether it’s a sleek and minimalistic design or a vibrant and colorful one, pick something that you’ll enjoy using.
- Set your intentions: Before diving into your resolutions, take a moment to reflect on what you truly want to achieve in the coming year. Consider the various areas of your life, such as health, career, relationships, and personal growth.
- Divide your journal: Create sections or pages dedicated to different aspects of your life. You can have separate sections for fitness goals, personal development, travel plans, and more. This will help you stay organized and focused on specific areas.
- Write SMART goals: SMART stands for Specific, Measurable, Achievable, Relevant, and Time-Bound. When setting your resolutions, make sure they meet these criteria. Instead of vague goals like “exercise more,” be specific and say “exercise for 30 minutes, five times a week.”
- Track your progress: Create pages or charts where you can record your progress towards each goal. This will help you stay motivated and see how far you’ve come.
- Add inspiring visuals: Bring your resolutions to life by incorporating visuals like photos, quotes, or illustrations that resonate with you. These visuals will serve as daily reminders of what you’re working towards.
- Review and reflect: Regularly review your resolutions and reflect on your progress. Celebrate your wins and make adjustments if needed. This process will help you stay aligned with your goals throughout the year.
Conclusion
Crafting DIY decorations for New Year’s celebrations is a fun and creative way to add a personal touch to your festivities. From glittery party hats to handmade banners, personalized photo calendars, and repurposed party poppers, there are endless possibilities to explore. By following the step-by-step guides provided in this article, you can easily create unique and memorable crafts that will impress your guests and make your New Year’s Eve celebration truly special.
Creating DIY glittery party hats allows you to customize your headwear with sparkles and embellishments, ensuring that each hat is as unique as the person wearing it. Handmade New Year’s Eve banners add a festive touch to your decor and can be easily customized to match your chosen theme. Personalized photo calendars not only keep you organized but also serve as a beautiful reminder of cherished moments throughout the year. Repurposing party poppers into confetti poppers or using the confetti to create artwork adds a playful element to your celebration. Lastly, Creative Resolutions Journals provide a tangible way to stay motivated and track your progress towards achieving your goals throughout the year.
So, get your craft supplies ready and let your creativity shine as you embark on these DIY projects for New Year 2024. Happy crafting and cheers to a wonderful year ahead!
How do I create glittery party hats for New Year’s celebrations?
To create glittery party hats, start with plain hats and gather supplies like glitter, glue, scissors, and decorative items. Prepare the hats, apply glue, sprinkle on glitter, and add extra embellishments. Allow the hats to dry and get creative with your designs.
What other DIY crafts can I make for New Year’s Eve?
You can also make handmade New Year’s Eve banners. Choose a design, cut out shapes, punch holes, arrange the shapes on ribbon or twine, secure them, and add extra decorations.
How can I create personalized photo calendars for the upcoming year?
To create personalized photo calendars, select photos, print them on cardstock or photo paper, create a calendar layout, attach photos to respective months, and add important dates and events. Have fun and be creative with your design.
How can I incorporate party poppers into New Year’s Eve crafts?
You can repurpose party poppers into confetti poppers, create a streamer backdrop, and use the confetti to create artwork.
What is a Creative Resolutions Journal and how can I create one?
A Creative Resolutions Journal helps you stay motivated and track progress throughout the year. Choose a notebook, set intentions, divide the journal into sections, write SMART goals, track progress, add inspiring visuals, and regularly review and reflect on your resolutions.